16 Wall Attached Kitchen Peninsula Ideas That Work in 2026
Introduction
These ideas cover everything from floating breakfast bars to full cabinet peninsulas. Each one attaches to an existing wall for stability and cost savings.
Pick the layout that fits your kitchen dimensions and start planning.
Idea 1: The Floating Breakfast Bar
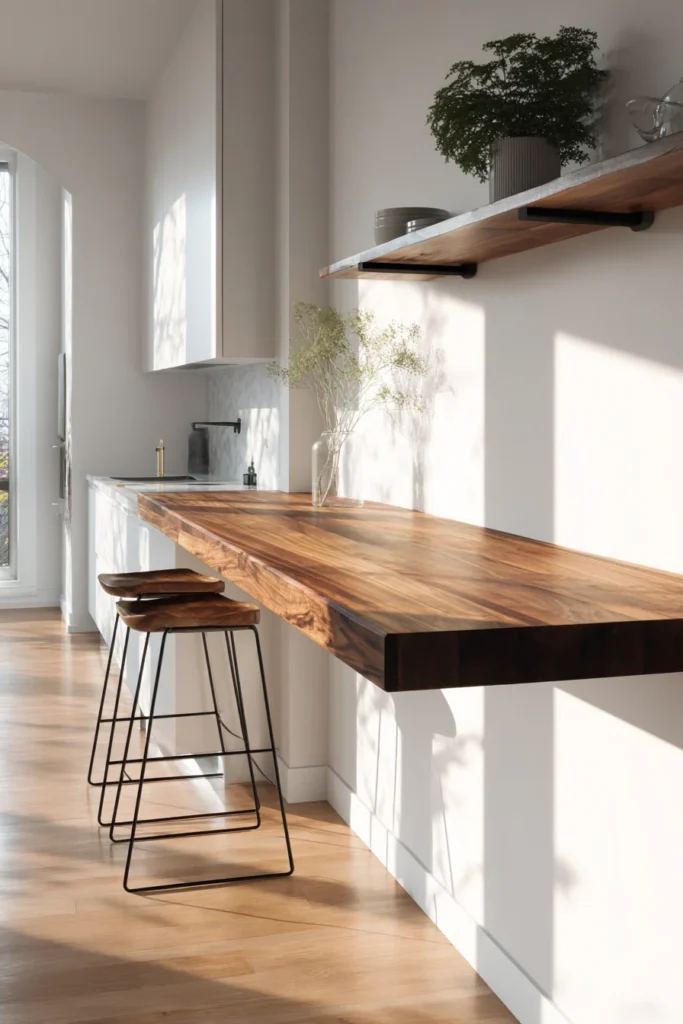
This is the simplest wall attached peninsula idea. Mount a 12-inch deep quartz or butcher block ledge directly to the wall studs using heavy duty steel brackets rated for at least 500 pounds.
No legs touch the floor. It creates a clean, modern look that makes cleaning underneath easy. Perfect for tight galley kitchens where every inch of floor space counts.
Idea 2: Single Corbel Support for a Stone Counter
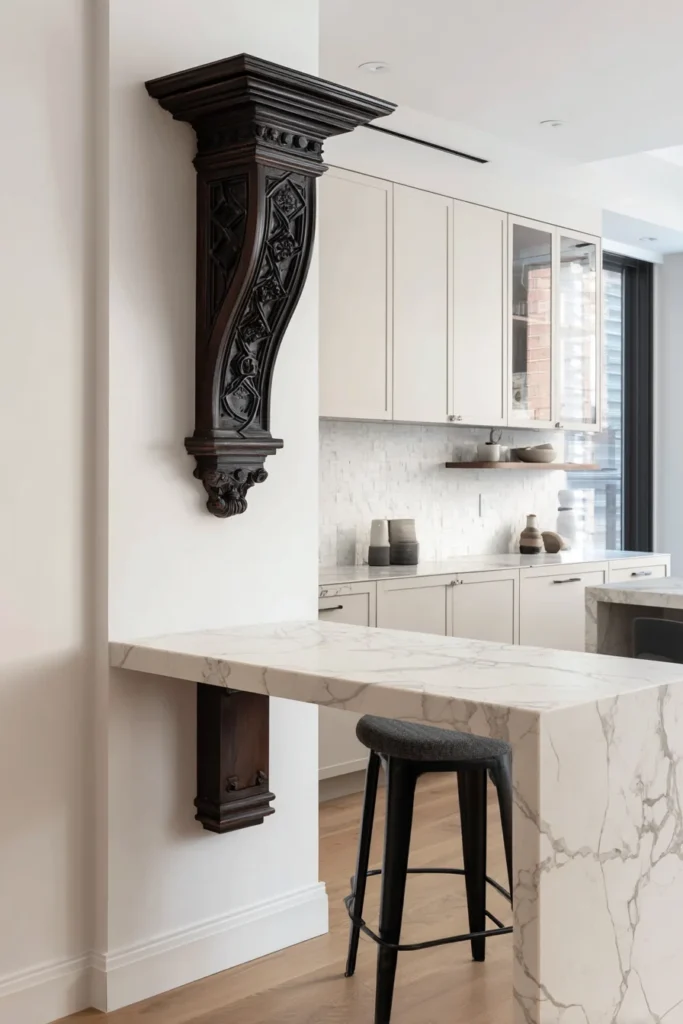
If you want the look of stone but cannot hide the bracket, use a decorative wood or metal corbel.
The corbel attaches to the wall and supports the counter overhang. Choose a corbel that extends at least two thirds of the overhang depth. For a 15-inch overhang, use a 10-inch corbel.
This gives enough support for granite or quartz without extra legs getting in the way.
Idea 3: Hidden Steel Bracket Inside the Wall
This is the cleanest support method for a modern kitchen. You open the drywall and install a steel bracket between the wall studs before you hang the new drywall.
The bracket slides into a routed slot in the underside of the countertop. The result is a counter that appears to float with zero visible hardware.
You need a contractor or good DIY skills to pull this off.
Idea 4: Half Wall Knee Wall Support
Building a short half wall where the peninsula meets the main wall gives you a sturdy base.
Frame it with two by fours and finish it with drywall. The half wall should be 34.5 inches tall so the counter sits at the standard 36-inch height.
This approach also lets you run electrical wiring up through the wall for an outlet at the end of the peninsula.
Idea 5: Column Wraparound End Panel
Instead of stopping the peninsula abruptly, wrap the end with a panel that matches your cabinet doors.
This gives the peninsula a finished furniture look. The panel attaches to the wall on one side and provides a solid anchor point.
You can also use this panel to hide the support bracket or even a small wine rack cubby.
Idea 6: Single Level Overhang for Seating
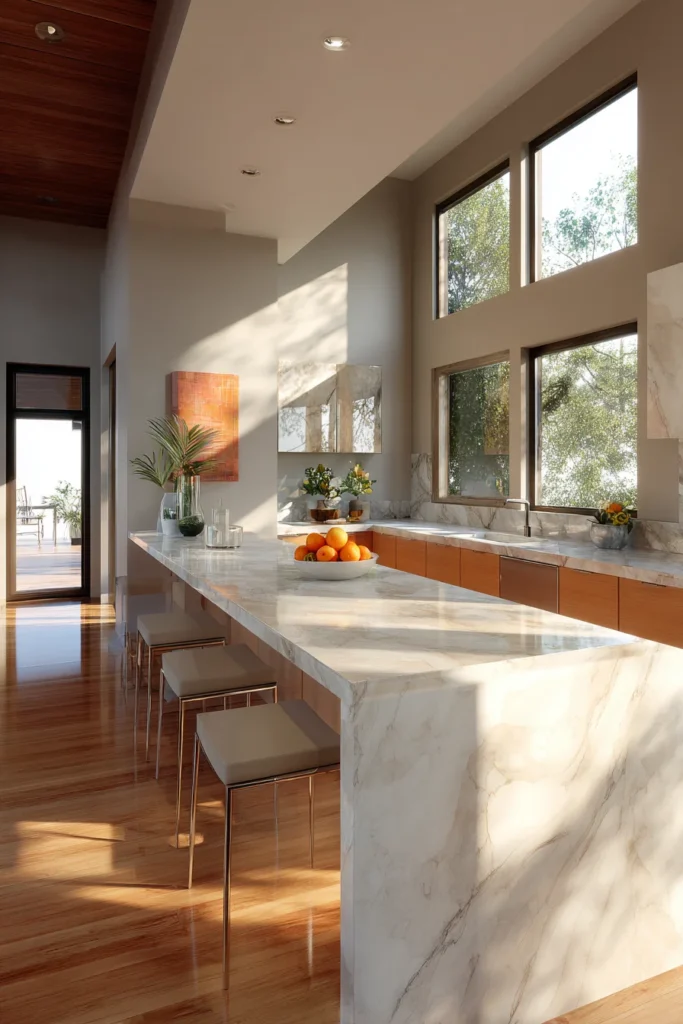
Keep the peninsula all one height. Extend the countertop 12 to 15 inches past the cabinet base on the open side.
This creates a knee space for stools. For a 36-inch high counter, you need at least 15 inches of clear knee depth for comfortable seating.
This is the most popular layout in 2026 because it keeps the sightline clean and the space open.
Idea 7: Two Tiered Peninsula With Raised Bar

If you want to hide dirty dishes from the dining room, build a raised bar top on the seating side.
The lower tier is for food prep. The upper tier sits about six inches higher and overhangs enough for stools.
The downside is the extra height makes the kitchen feel more closed off. But if you entertain often and want to hide mess, it works well.
Idea 8: Banquette Connection to a Dining Bench

Attach the peninsula to the wall and then extend the design into a built-in bench along the adjacent wall.
The peninsula becomes part of a larger eating area. The bench saves floor space compared to chairs.
This works best in open plan kitchens where the peninsula defines the boundary between cooking and eating zones.
Idea 9: Appliance Garage on the Wall Side
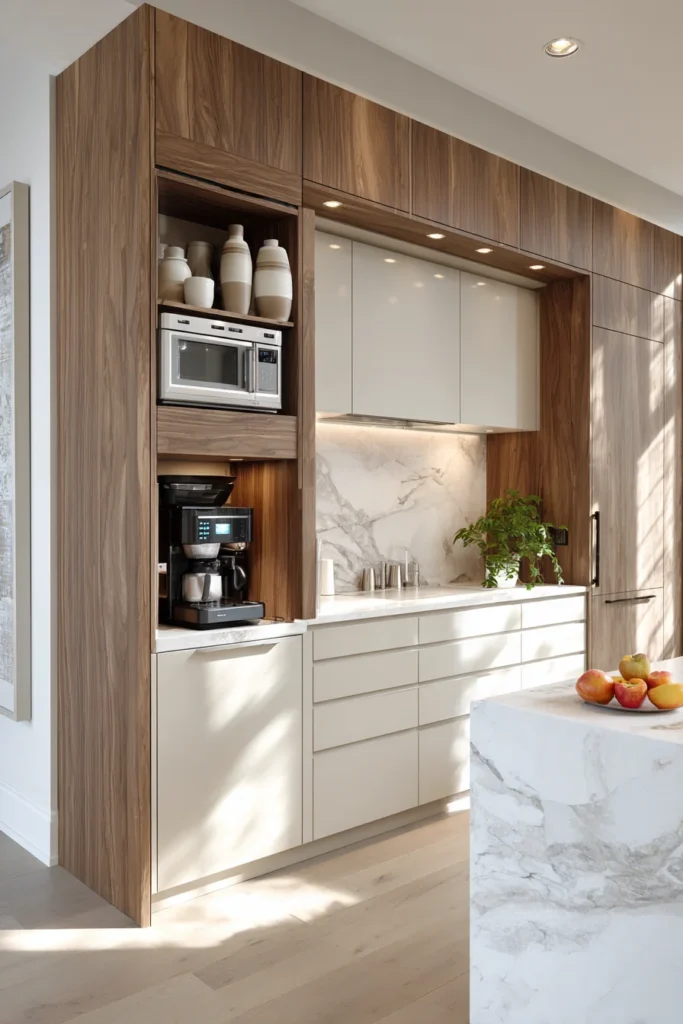
The wall end of a peninsula often becomes dead space. Turn it into an appliance garage.
Build a cabinet with a roll up door that faces the main prep area. Store your toaster, coffee maker, and blender inside.
You need at least 18 inches of depth on that wall side to fit standard small appliances behind the door.
Idea 10: Open Shelving Facing the Dining Room
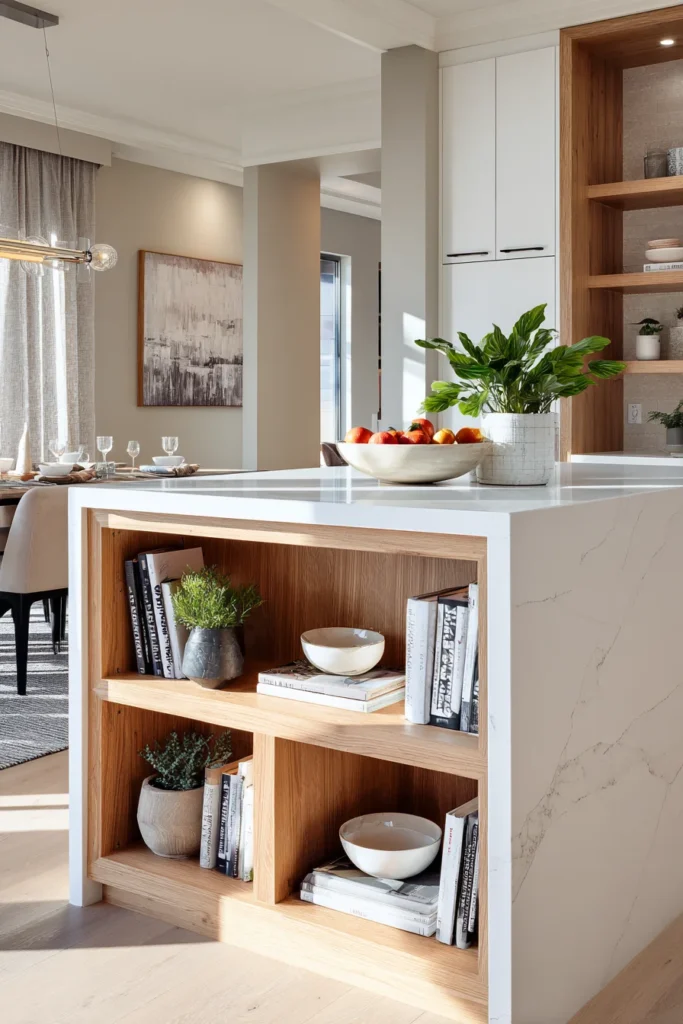
Instead of blank cabinet doors facing the eating area, install open shelves.
Display cookbooks, small plants, and pretty serving bowls. This makes the peninsula feel lighter and more like a piece of furniture.
Just be honest about how tidy you are. Open shelves show dust and clutter fast.
Idea 11: Deep Drawers on the Inside Face
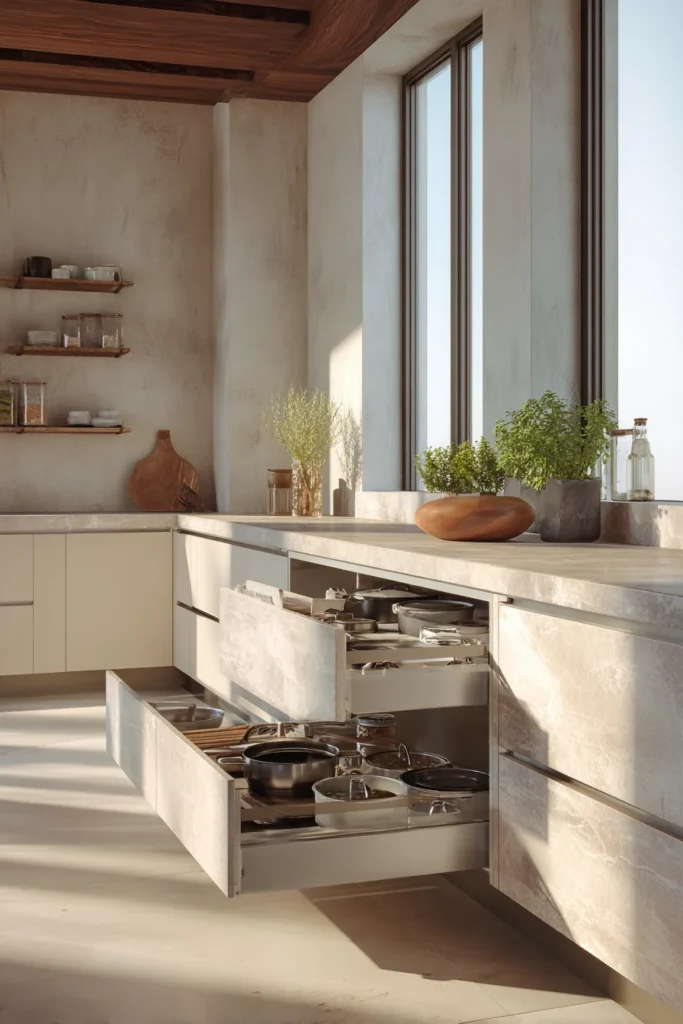
Standard door cabinets under a peninsula force you to get on your hands and knees to find a pot lid. Install deep drawers instead.
They pull out fully so you can see everything from above. This is especially useful for storing pots, pans, and mixing bowls.
Soft close slides keep the drawers from slamming shut.
Idea 12: Trash and Recycling Pull Out on the Wall Side
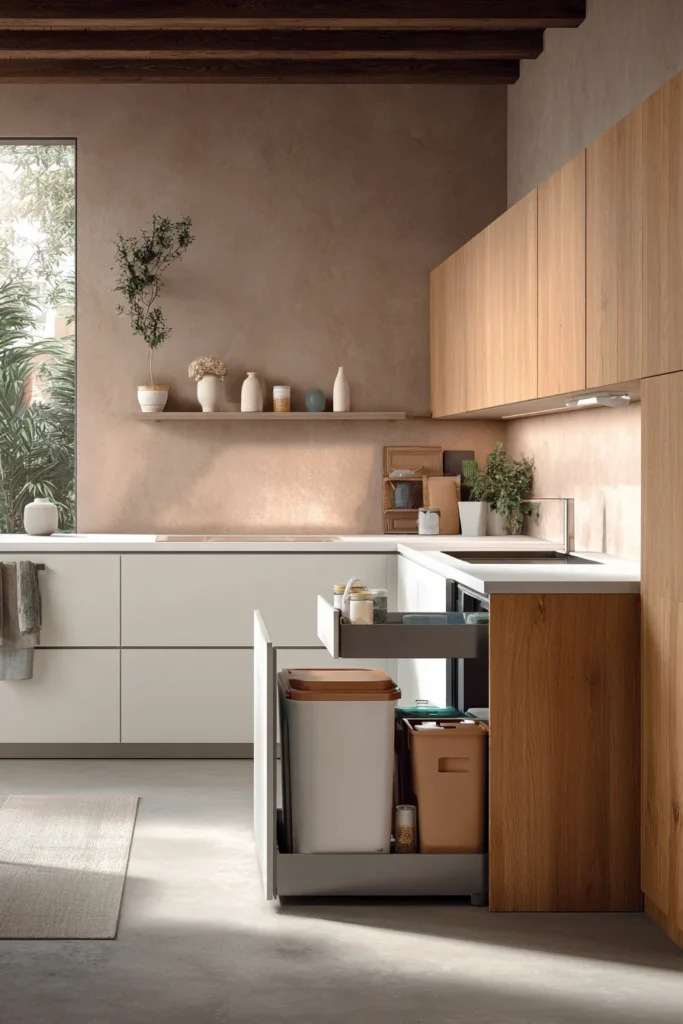
The narrow space near the wall is awkward for sitting but perfect for a trash pull out.
Install a slim cabinet with a pull out bin system. The trash is hidden but easy to access while prepping food.
Position it on the side closest to the sink and main work triangle for maximum efficiency.
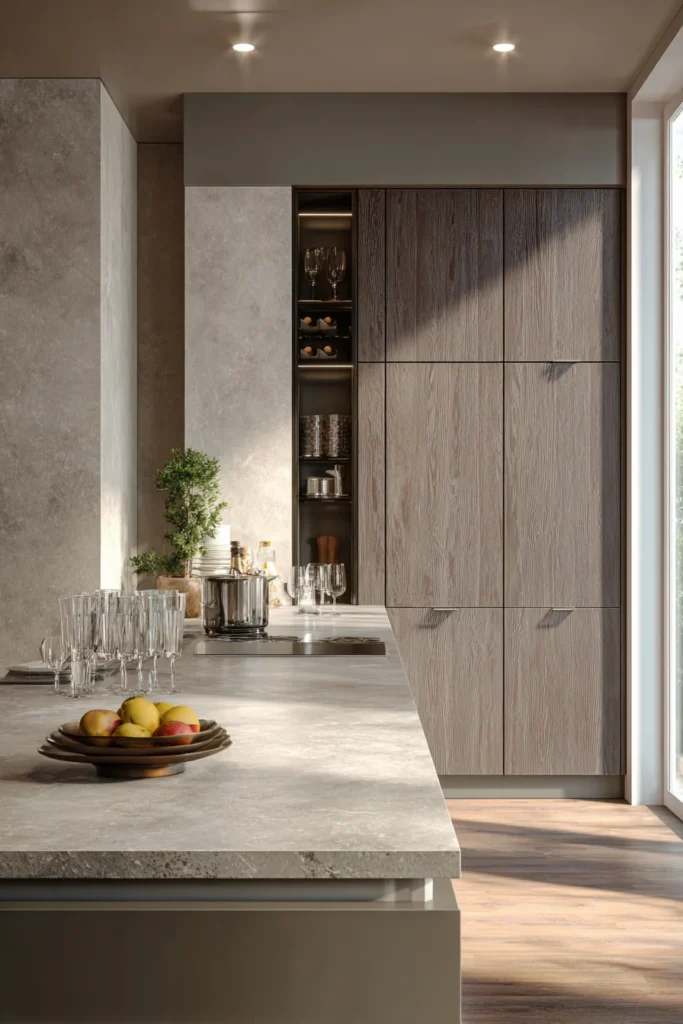
Idea 13: Wine Rack Cubby in the Dead Corner
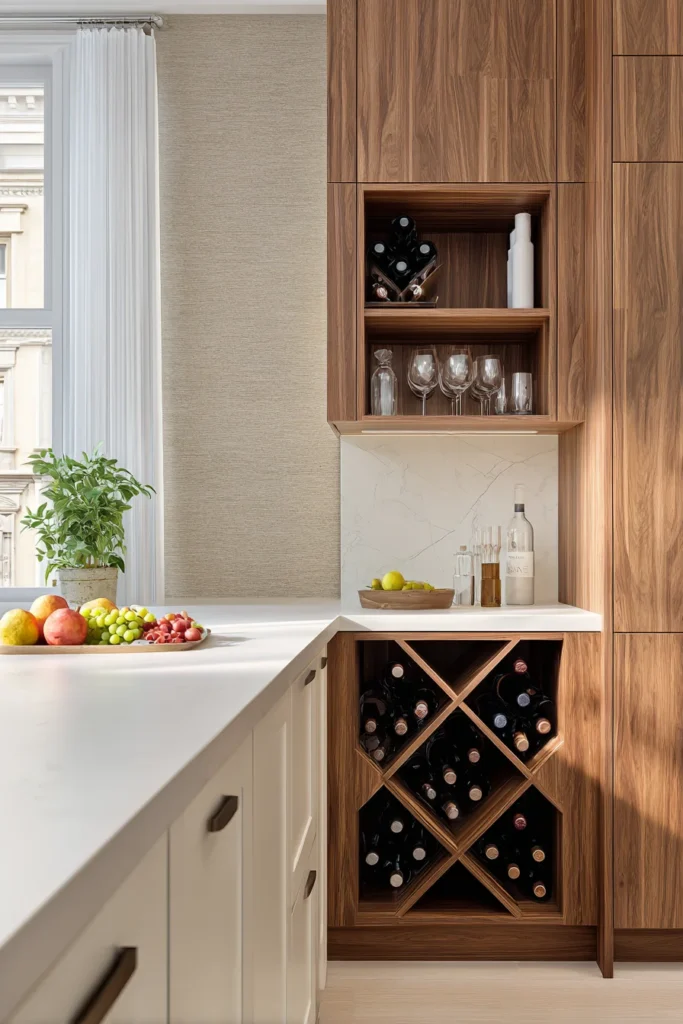
The spot where the peninsula meets the wall creates an awkward inside corner. Do not let it go to waste.
Build a small cubby with horizontal slots for wine bottles. It uses space that would otherwise collect dust.
It also adds a nice visual detail to an otherwise blank wall junction.
Idea 14: The Galley Divider Peninsula
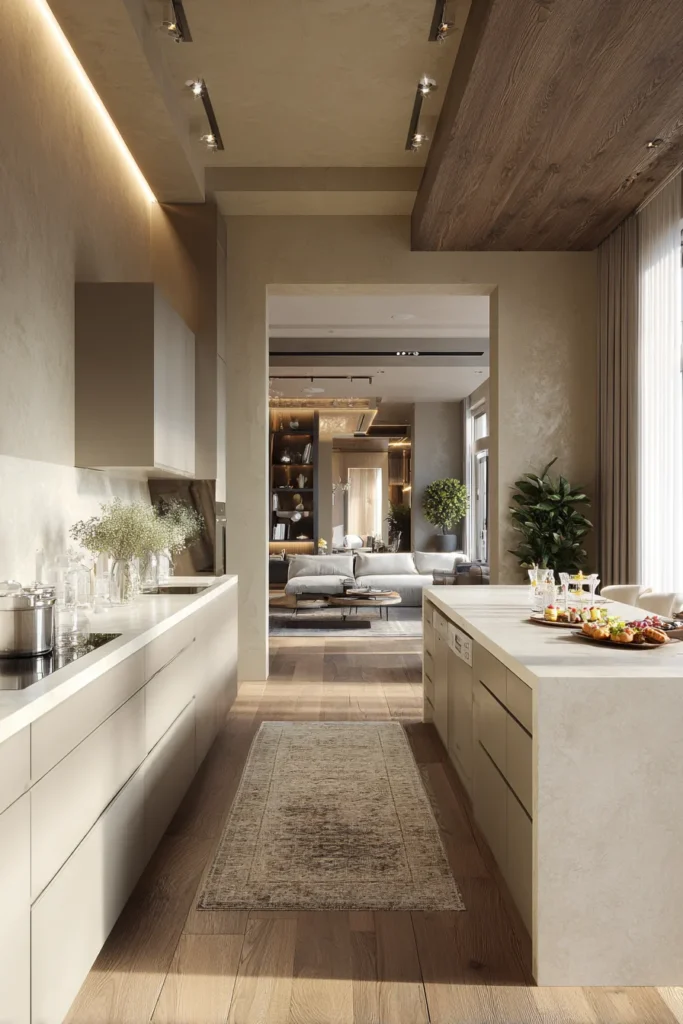
In an open concept home, a peninsula attached to a wall creates a clear boundary between the kitchen work zone and the living room.
This stops guests from wandering into your prep space while you cook. It also gives you a place to set appetizers and drinks facing the living area.
This layout defines the room without building a full wall.
Idea 15: The U Shape Conversion
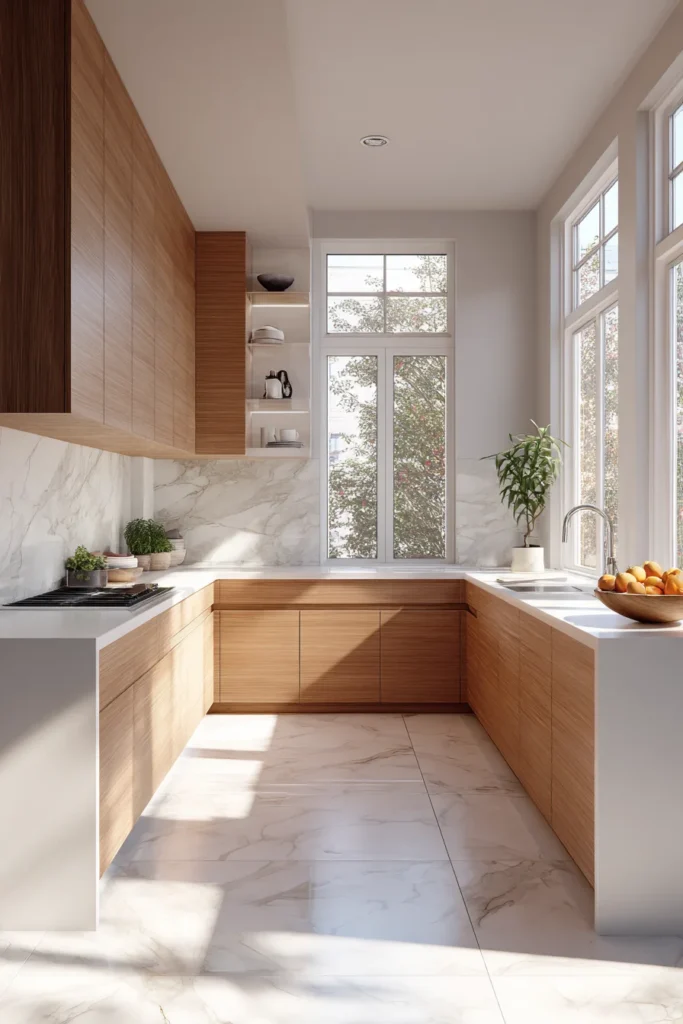
Many kitchens have an L shaped layout with one long wall and one short return. Add a wall attached peninsula to the opposite end and you turn that L into a U shape.
This adds counter space and storage without changing the existing cabinets.
It works best when the kitchen is at least 8 feet wide to allow for a walkway between the peninsula and the opposite counter.
Idea 16: Fluted Wood Panel Finish on the Wall Support
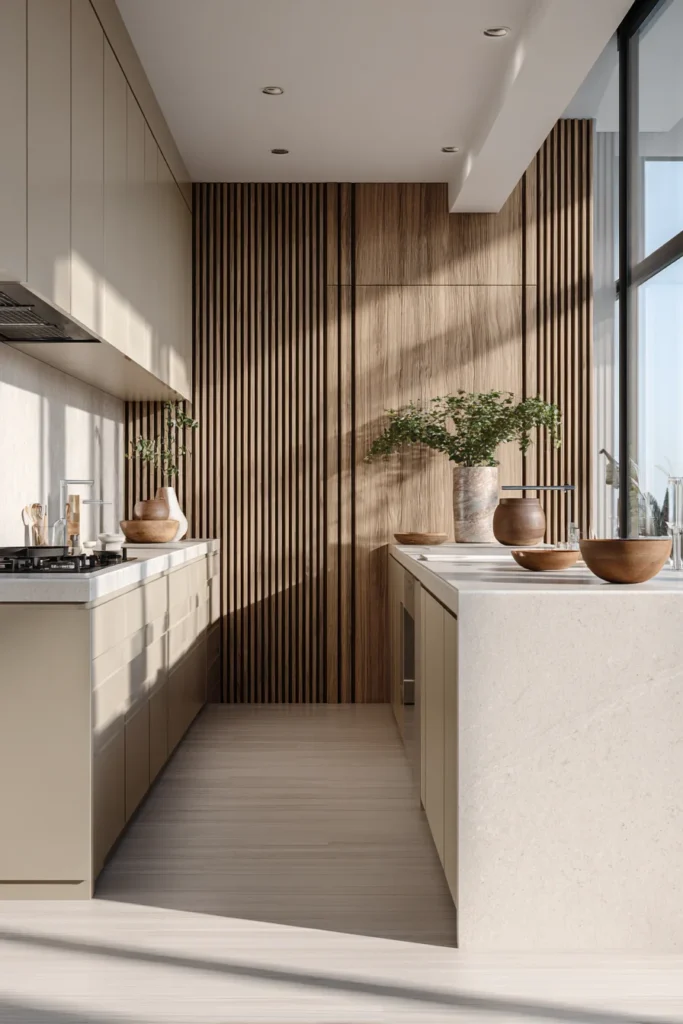
The wall side of the peninsula can look like a blank slab.
Dress it up with fluted wood panels. These vertical grooves add texture and warmth. They also hide any seams or brackets where the peninsula meets the wall.
This is a 2026 trend that makes a simple wall attachment look like a custom design feature.
Conclusion
A wall attached kitchen peninsula solves the problem of limited floor space without sacrificing function. You get extra counter space, more storage, and often a place to sit. All without the cost and disruption of a full remodel.
We covered sixteen ideas for kitchen peninsulas attached to walls. From floating ledges to U shape conversions to appliance garages. The key is anchoring securely to the wall studs and choosing a layout that fits your daily routine.
Measure that empty wall space tonight. Which of these sixteen ideas fits your floor plan best? Even a 12-inch deep ledge can change how you use your kitchen.