14 Smart Shower Niche Ideas That Work in 2026
Introduction
A good niche makes your shower feel custom and keeps bottles off the floor. A bad niche is a leak waiting to happen. These ideas focus on placement, design, and the construction details that matter.
Pick the ones that fit your space and your budget.
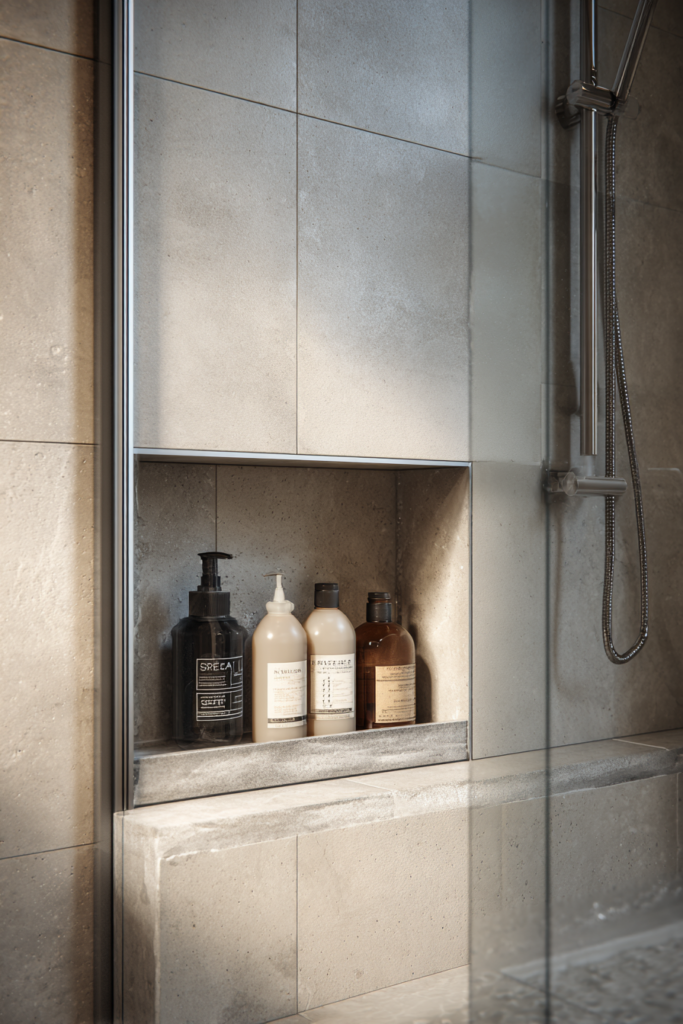
Idea 1: The Side Wall Sweet Spot
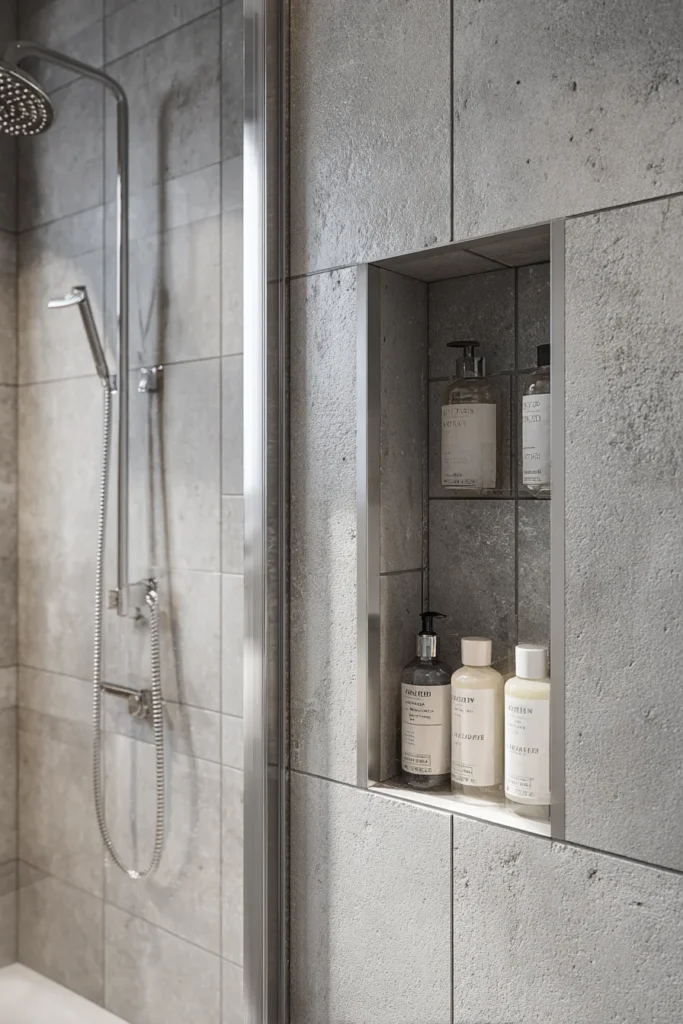
Never put a niche on the same wall as the showerhead. That wall gets blasted with water every time you turn on the shower.
The niche will stay wet for hours and grow mildew. Instead, put the niche on the wall to your left or right. This side wall placement keeps bottles dry and accessible.
It also hides the clutter from view when you walk into the bathroom. This is the single most important rule in any shower niche placement guide.
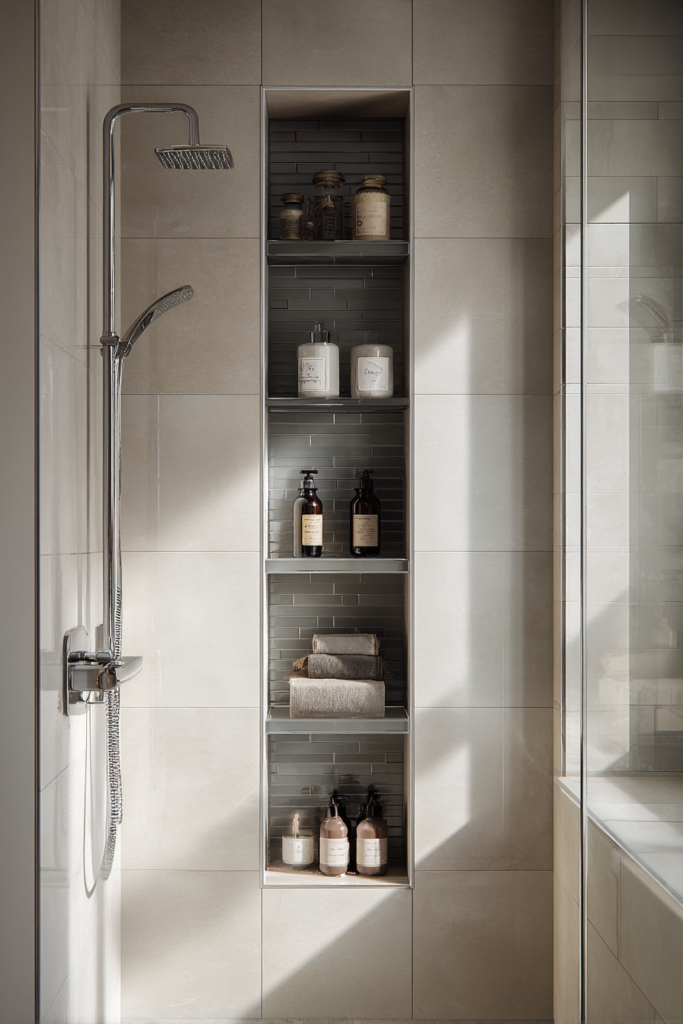
Idea 2: The Double Niche Stack
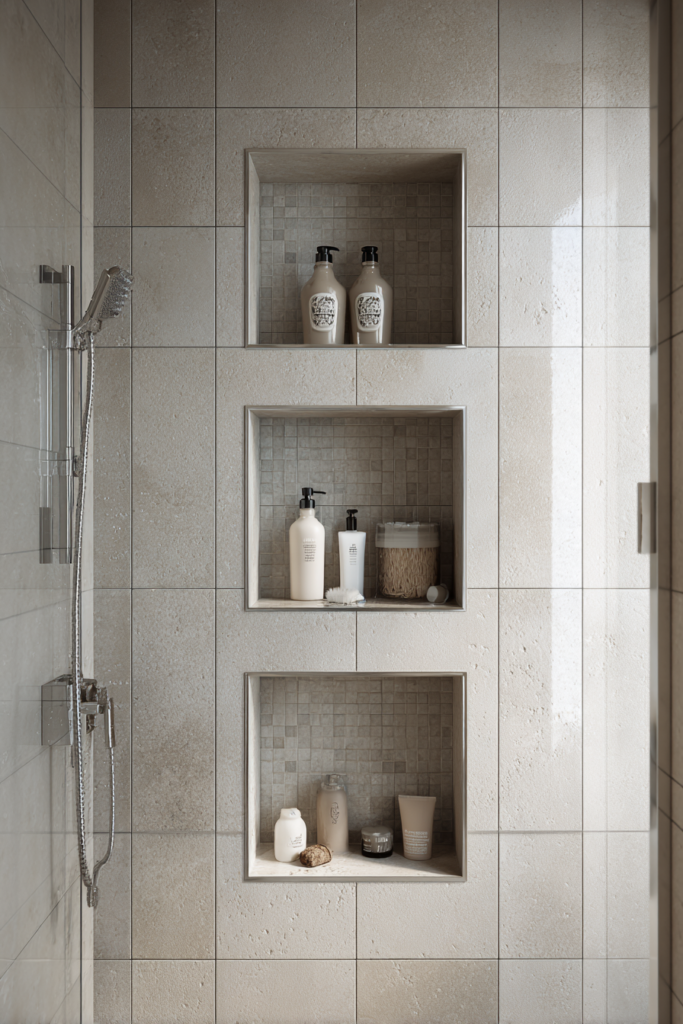
Instead of one long horizontal niche, stack two smaller squares on top of each other. Place the top one at eye level for adult shampoo and conditioner.
Place the bottom one lower for kid soap, razors, or a shower steamer. This works perfectly if you are working within a standard fourteen and a half inch stud bay.
You do not need to cut any studs. Just build two separate boxes within the same cavity.
Idea 3: The Knee Wall Nook
If you have a freestanding tub with a shower fixture, you probably have a short half wall called a knee wall.
This is prime real estate for a niche. Build the niche into the top of that knee wall. It keeps bottles hidden from the main view of the bathroom. It is also a great spot for a leg shaving footrest niche down low.
Water splashes over it but drains right back into the tub.
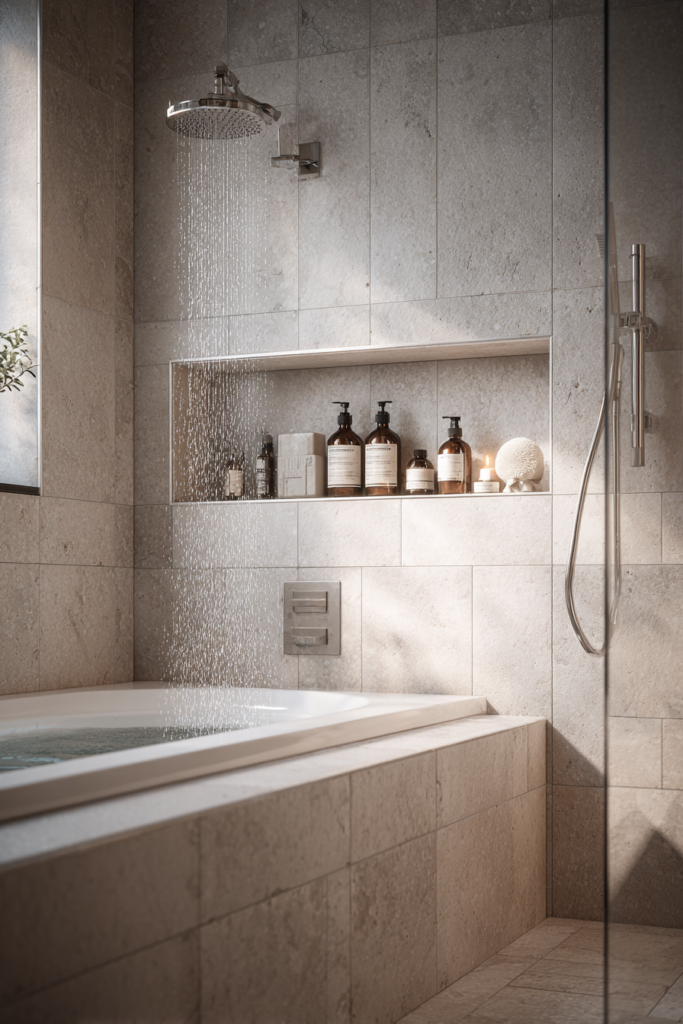
Idea 4: The Eye Level Height Rule
Height matters more than you think. The center of your niche should sit about forty eight to fifty four inches off the shower floor.
That puts the shelf right where your hand naturally reaches. If you build it too high, you will be stretching and water will run down your arm. If you build it too low, you have to bend over every time you need soap.
Measure it while standing in the actual shower pan.
Idea 5: The Accent Mosaic Backing
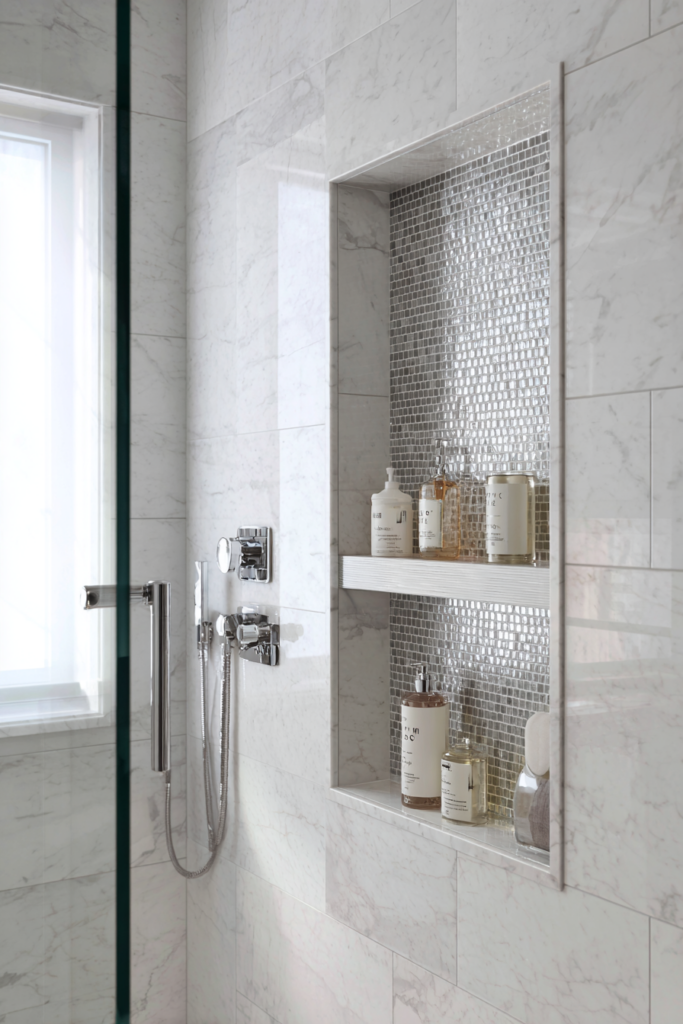
The back wall of the niche is a tiny canvas. You can afford to splurge on a fancy tile here because you only need about two square feet.
Use a mosaic sheet of marble, glass, or handmade zellige tile. Keep the main shower walls simple and white. The niche pops like jewelry.
This is one of the most popular modern bathroom niche tile designs for a reason.
Idea 6: The Horizontal Stacked Subway
If you built a vertical niche, run the subway tile horizontally inside it. This creates a nice contrast. The lines of the tile go one way, the shape of the niche goes the other.
It tricks the eye into seeing the niche as wider than it really is. Use a matching grout color to keep the look clean. Use a contrasting grout if you want the pattern to stand out.
Idea 7: The Schluter Edge Profile Finish
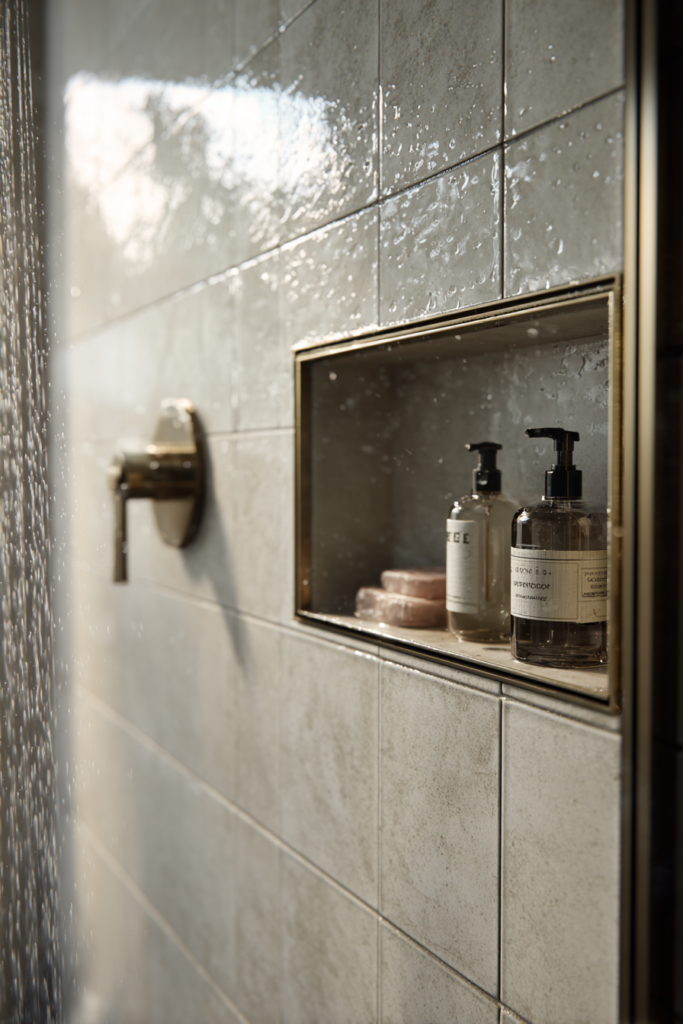
The edges of the niche are sharp and ugly without a proper trim piece. Do not just butt the wall tile up to the niche edge and hope for the best.
Use a metal edge profile from Schluter. In 2026 the popular finishes are brushed nickel, matte black, or warm brushed bronze. This trim protects the tile edges from chipping.
It also gives the whole shower a crisp, professional look that says this was not a DIY hack job.
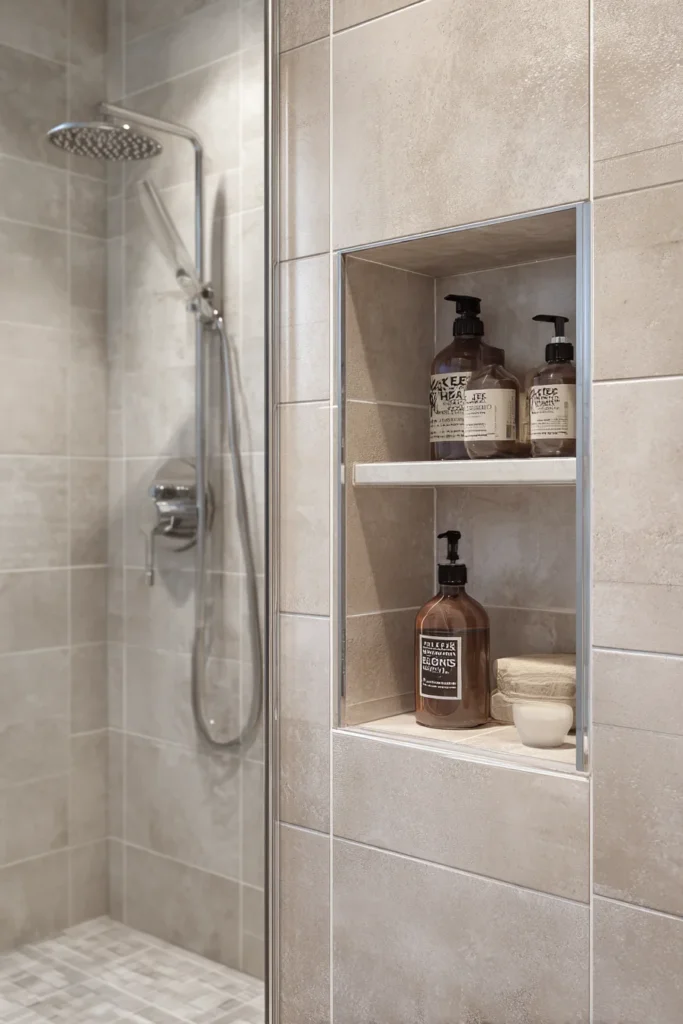
Idea 8: The Solid Slab Shelf Bottom
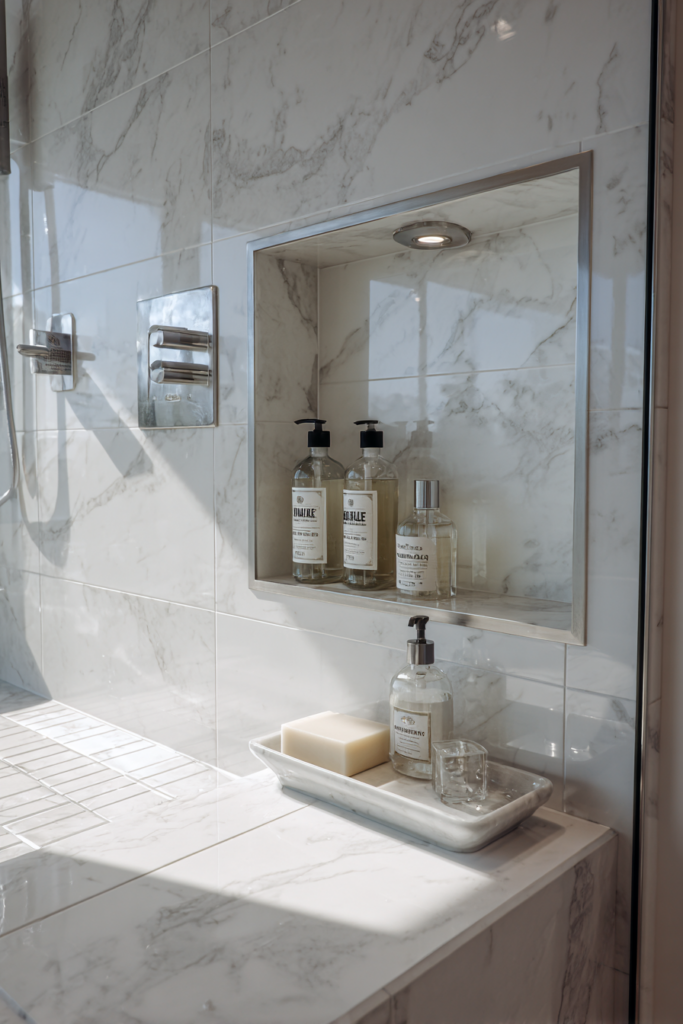
Tile on the bottom shelf of a niche has multiple grout lines. Water sits in those lines. Eventually the grout cracks or stains. Instead, use a solid piece of quartz, granite, or marble for the bottom shelf.
It is a single smooth surface with no seams. Water beads up and rolls right off. It also looks way more expensive than it actually is.
A remnant piece from a countertop shop costs very little.
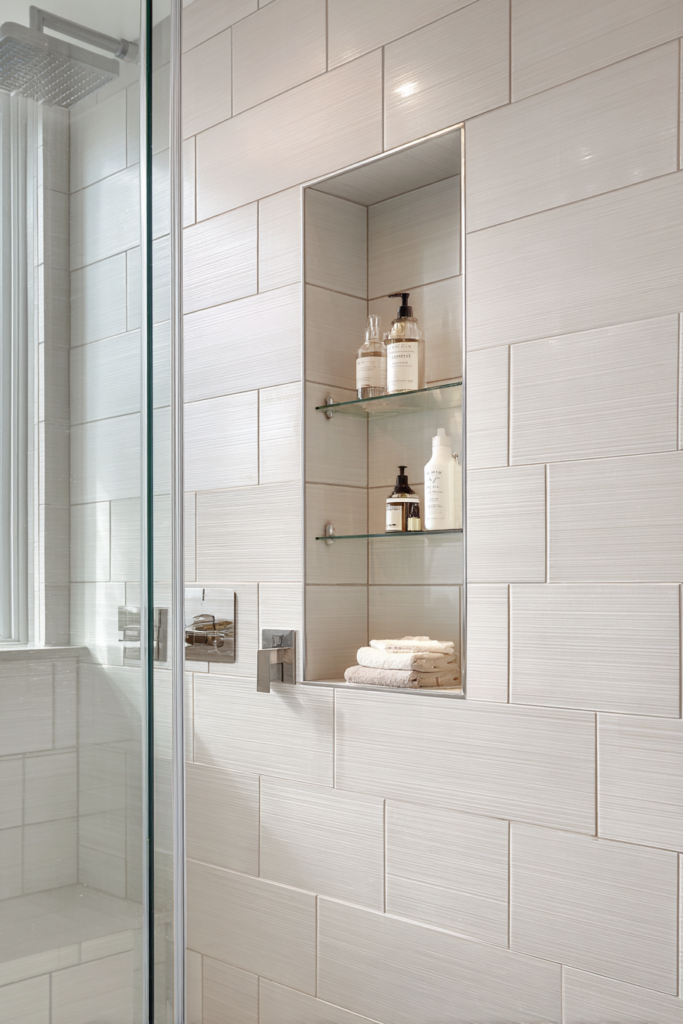
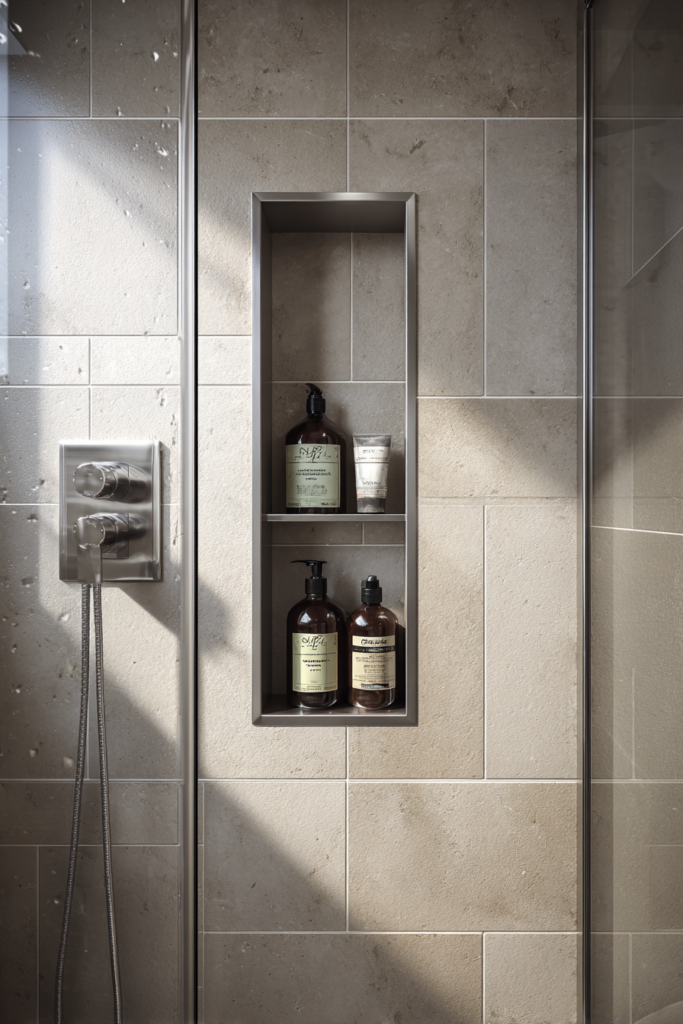
Idea 9: The Vertical Column Niche
Some showers are so narrow that a wide niche just will not fit. If you have a tight stud bay and cannot move framing, build a tall skinny niche.
Twelve inches wide and thirty inches tall works perfectly. You can stack three separate shelves inside that column using tempered glass inserts.
It holds a surprising number of bottles and looks intentional rather than cramped.
Idea 10: The Window Sill Extension
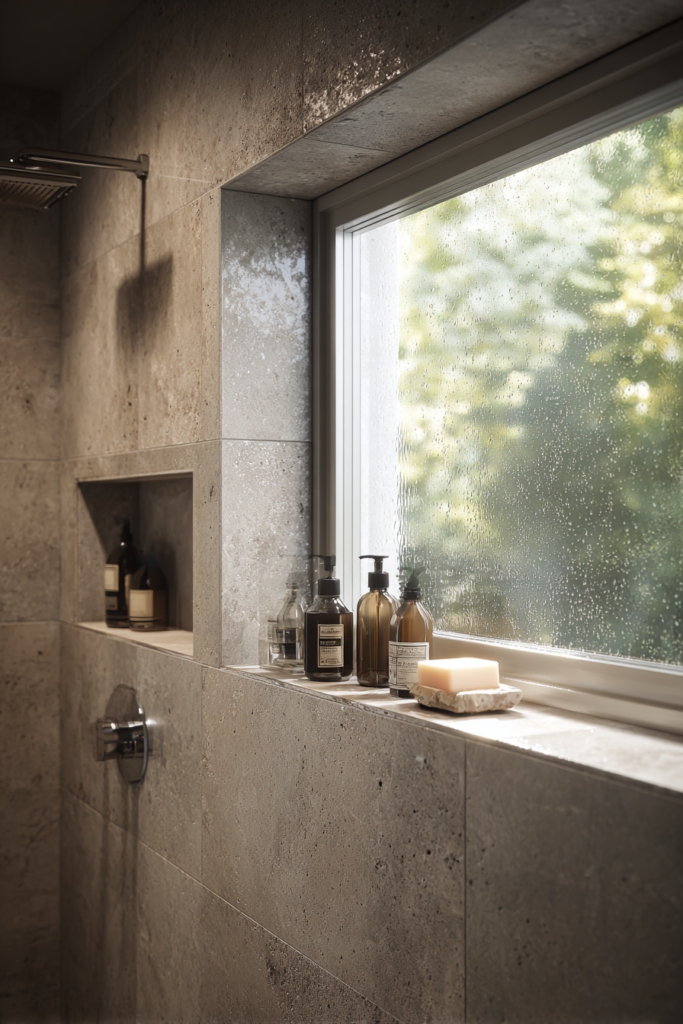
If your shower has a window in it, you already have a built in ledge. Extend that ledge into a full niche on one or both sides
. This creates a continuous shelf line across the whole wall. It ties the window and the storage together into one architectural feature.
Just make sure the window is properly waterproofed and tempered glass before you do this.
Idea 11: The Corner Niche
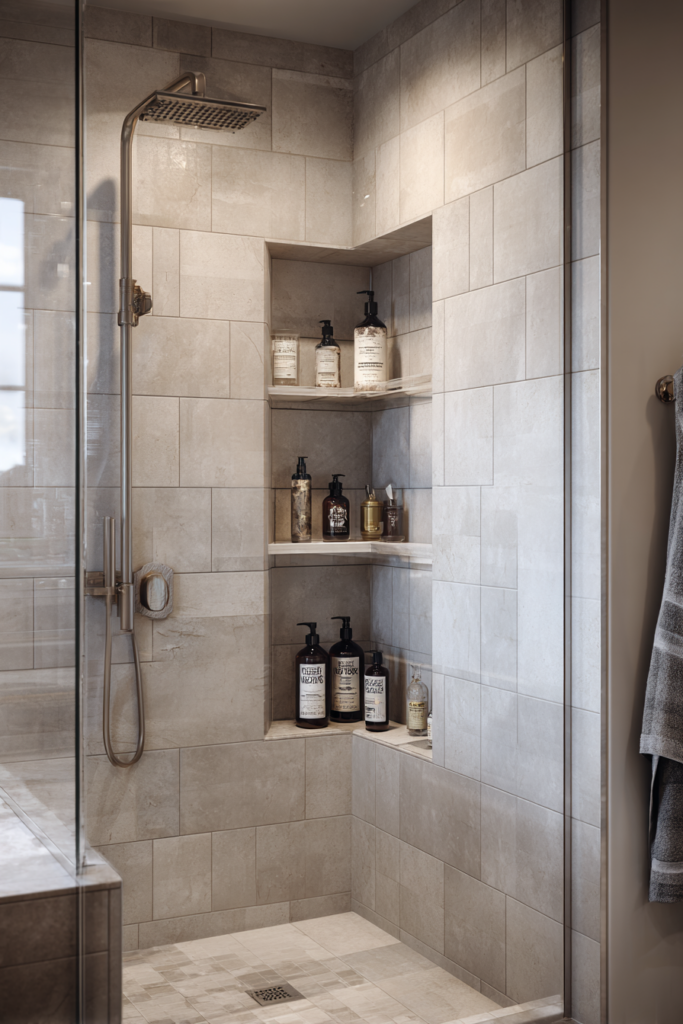
When you cannot find a flat wall to use, build into the corner. A corner niche spans two stud bays and sits diagonally.
It creates a unique angled shelf that is surprisingly roomy. It also directs water away from the opening naturally.
This is a good solution for small square showers where every flat wall already has a door or fixture.
Idea 12: The Prefab Foam Niche
Building a niche from wood and cement board is risky for beginners. One missed seam and you have a leak. Use a prefabricated foam niche instead.
Brands like Schluter Kerdi Board Niche or GoBoard are fully waterproof right out of the box. You just cut the hole, thinset it in, and seal the flange.
It costs a bit more upfront but saves thousands in potential water damage repairs later.
Idea 13: The Sloped Shelf Detail
This is the most boring and most important detail. The bottom shelf of the niche must slope forward.
You need about one eighth of an inch of drop from the back to the front. That tiny tilt makes water run off instead of pooling. If your tile guy does not slope the shelf, fire them. Seriously.
A flat niche shelf is a guaranteed mold problem within two years.
Idea 14: The No Demo Rental Option
If you rent and cannot cut into walls, you still have options. High end adhesive corner shelves made of solid stone can hold a lot of weight.
Look for the kind that use waterproof silicone adhesive. Apply them to a clean dry wall and let them cure for twenty four hours before loading them up.
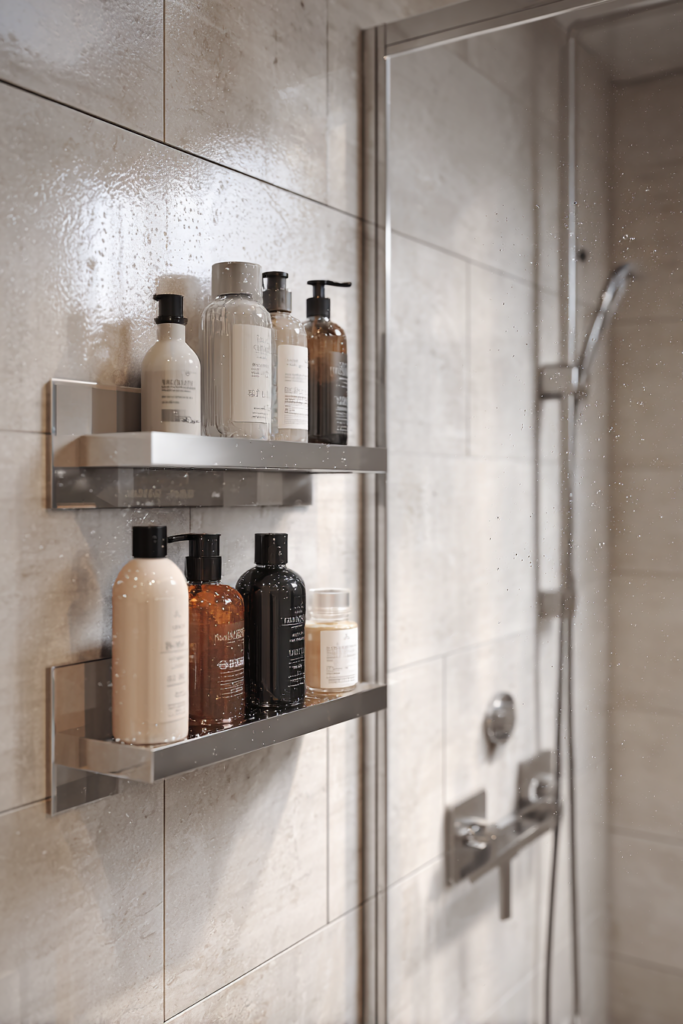
They are not as sleek as a built in niche. But they beat a rusty tension rod caddy any day.
Conclusion
A shower niche beats a caddy every single time. No more rusty wires. No more bottles on the floor. The key is putting it on the side wall, sloping the shelf so water drains, and picking a tile or slab that makes you smile when you see it
Ready to plan your remodel? Measure your stud bay width and pick one of these 14 shower niche ideas to show your contractor. And remember to ask them about that shelf slope.